

Installing A Nuc

Step-by-Step Illustration and Video
Installing a nuc (nucleus colony) into a hive is a simple process of transferring the five frames from the transport box into your hive body.
The short video below demonstrates the complete process from opening the nuc to closing the hive. The photos and steps that follow will walk you through each part of the process.
You got this!

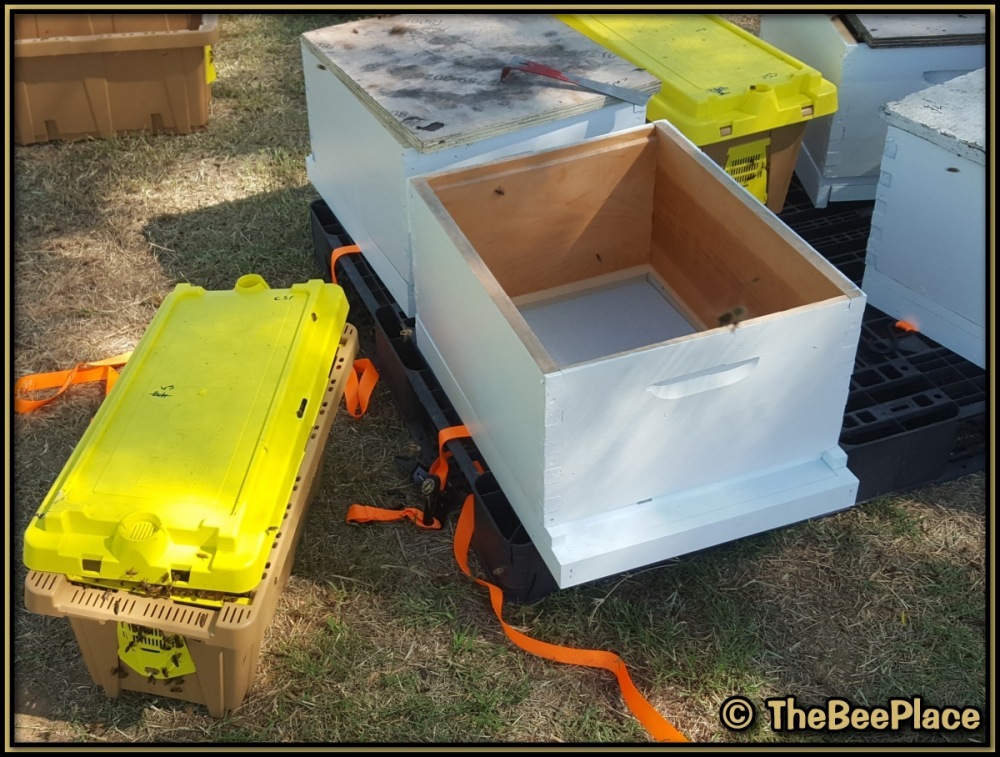
Prepare the hive
Prepare the hive body by placing it on solid ground or on a permanent stand. Then remove any frames or contents so there is room for the nuc frames.
The nuc frames can be transferred into the hive while it is sitting on the stand, or with the hive body on the ground next to the future hive stand and then moved onto the stand after the frames are installed.
Many of the older field bees may fly around a bit while you are moving the frames, but they will follow the scent of their colony and find their way back into the hive shortly after the transfer is complete. It is not uncommon for several bees to remain on the outside of the box for a short time, but they will eventually make their way inside to join the rest of the colony.
Open the nuc
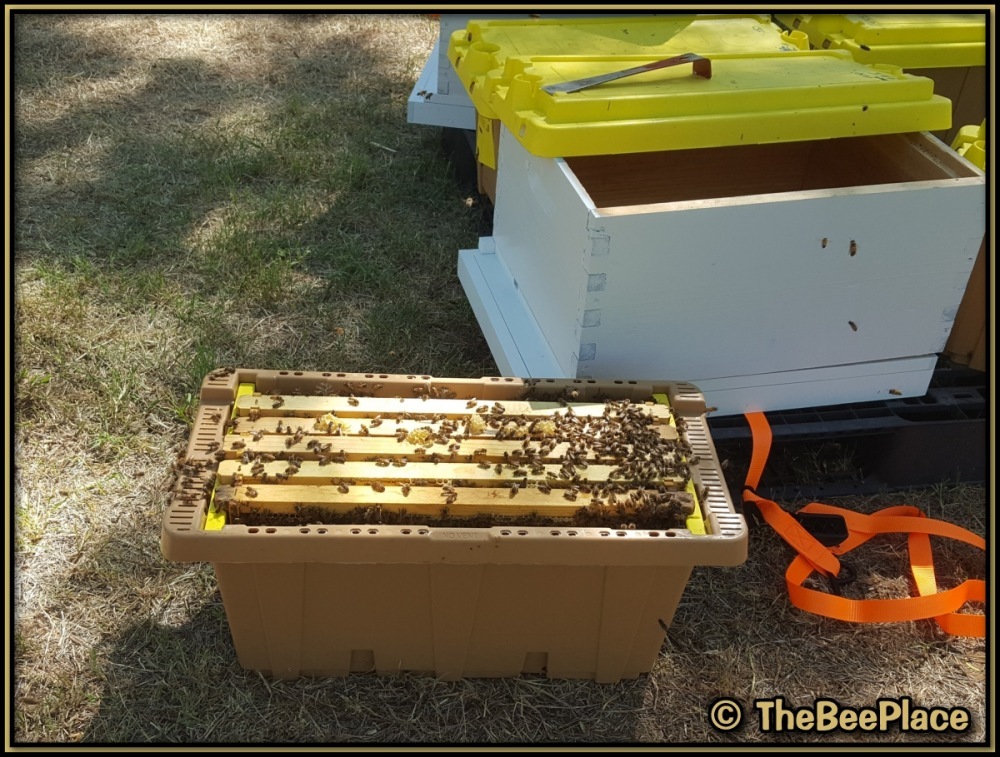
Gently smoke the entrance and under the lid of the nuc to minimize any alarm pheromones. Using slow, methodical movements, remove the nuc lid after a few moments and place it aside. Use a hive tool to separate the nearest frame and create finger space between an outer frame and the one next to it so you can get a good grip on the first frame.
Make sure to create enough space between the frames with the hive tool to avoid rubbing them together when lifting the first frame out of the box. This will help prevent "rolling" any bees, especially the queen, if she happens to be on one of the frames being removed.
Remove first frame
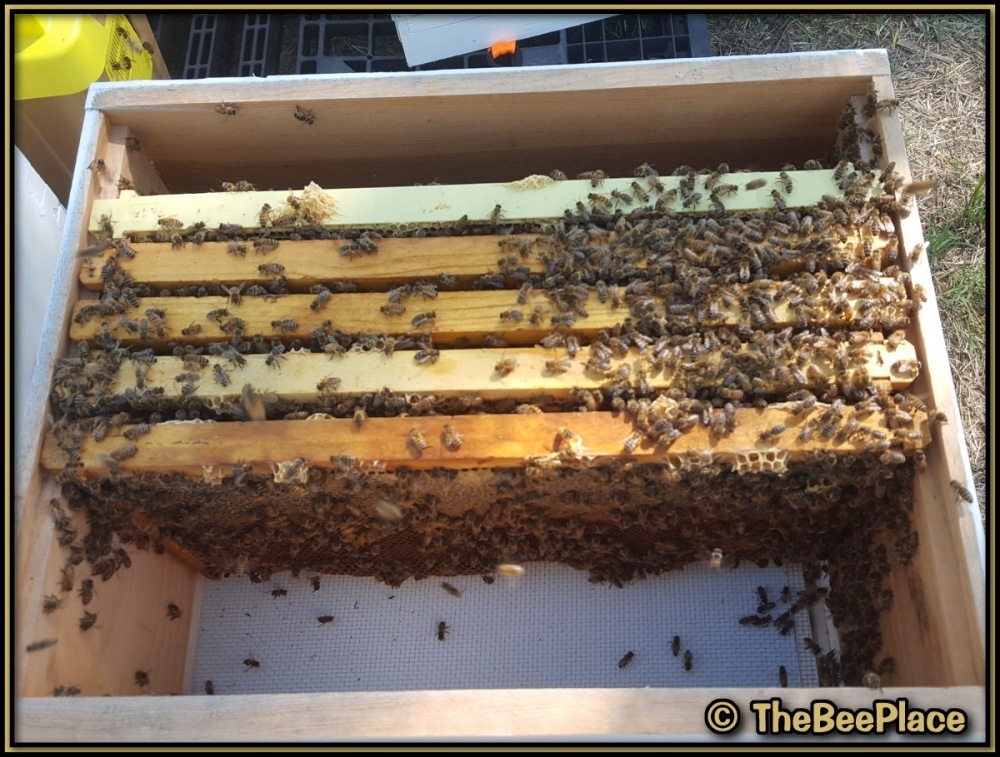
Gently remove the first frame from the nuc box and place it into the hive body.
It does not make a difference which side you start with, but it is always best to begin with an outside frame. Keeping the frames in the same order and facing the same direction is recommended.
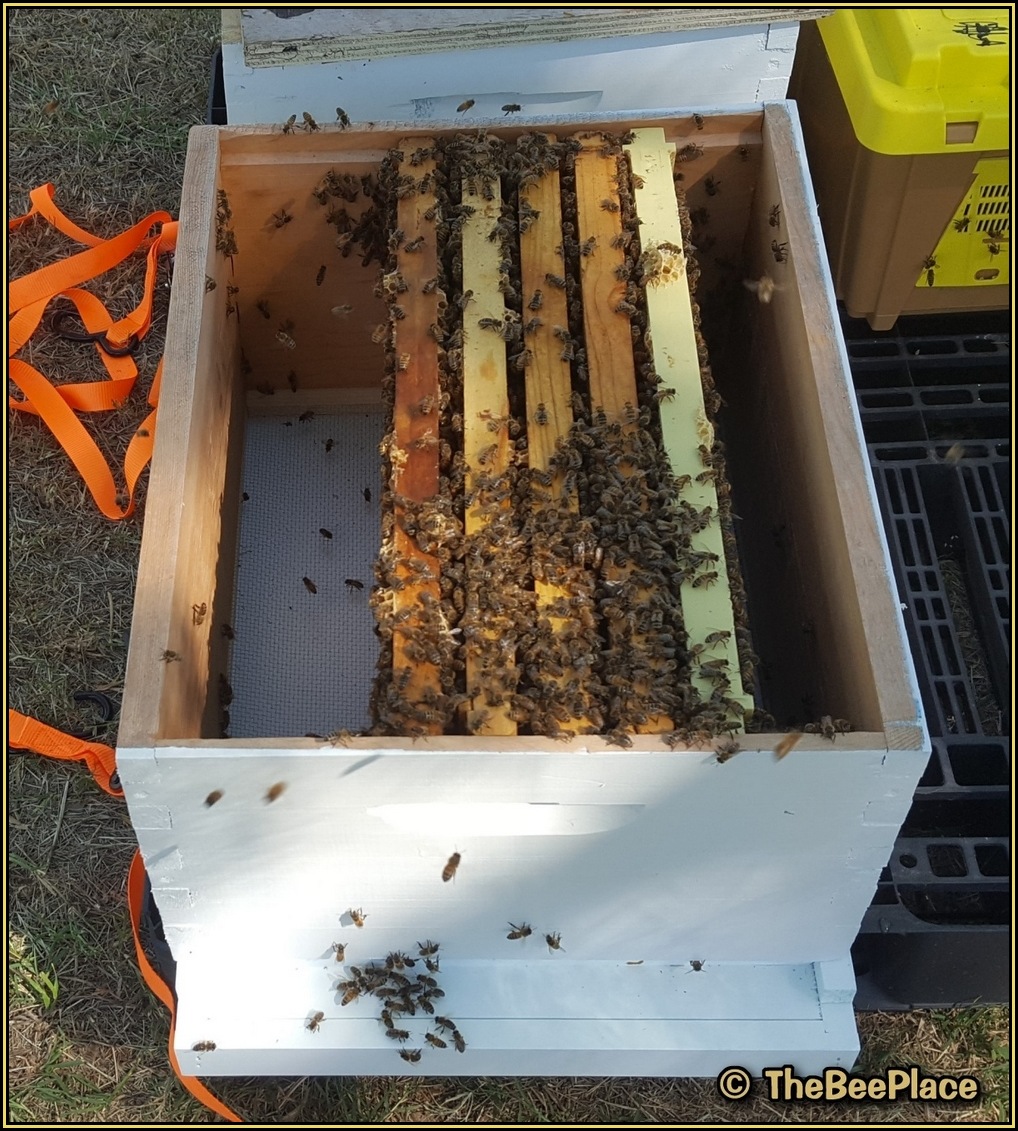
Note: The hive box does not need to be completely empty, but it is best to have space for at least six frames — the five you will insert plus one extra space to prevent rubbing bees against another frame.
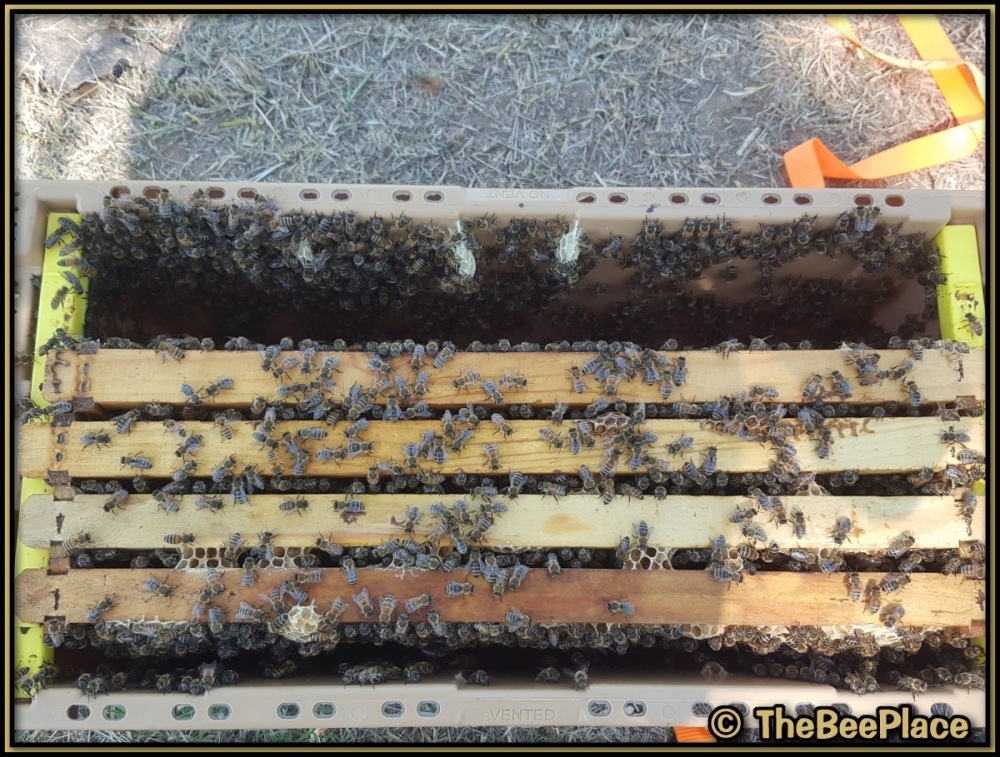
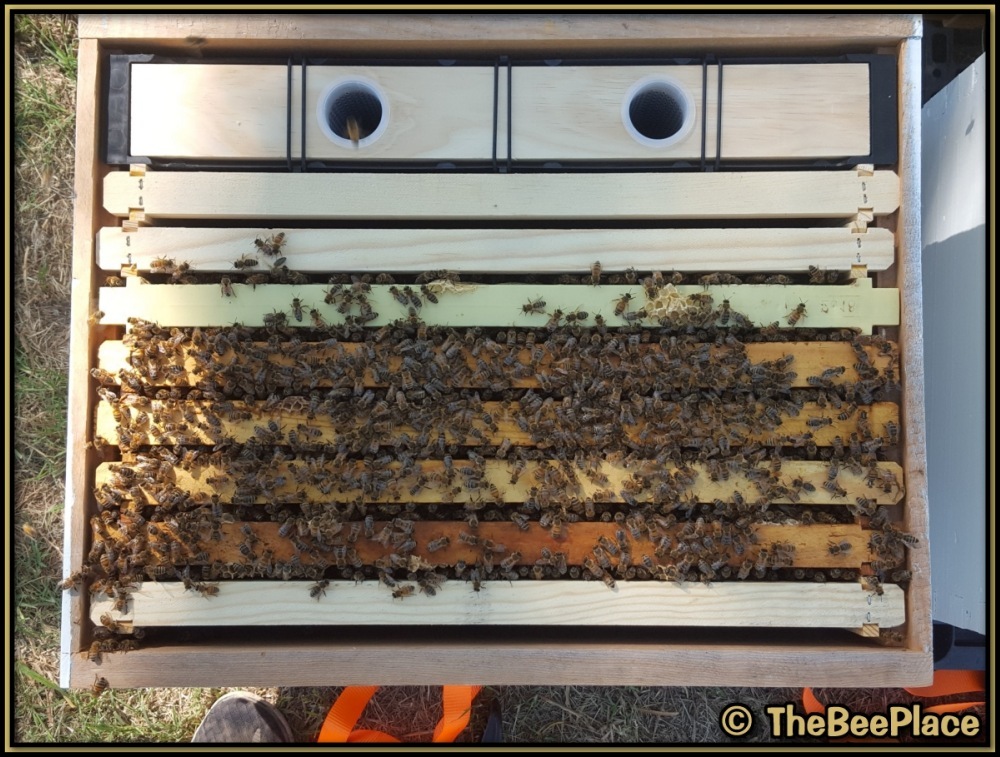
Transfer frames
Place the first frame into the hive body and continue with the next frame until all five frames have been transferred into the hive.
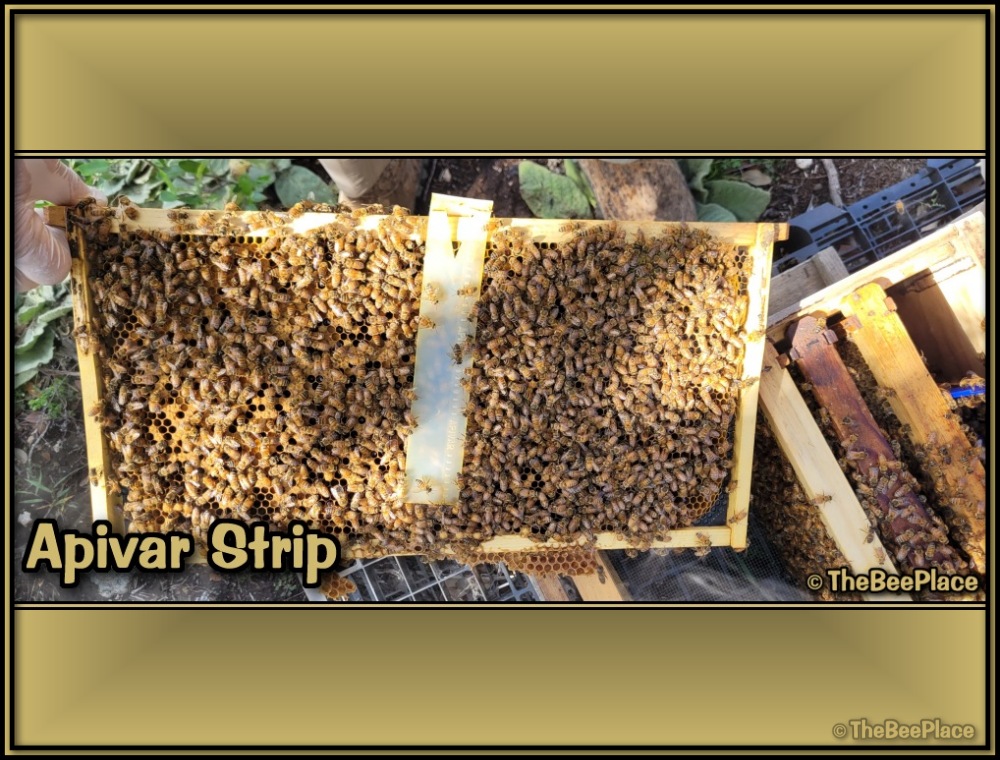
Note: Be mindful of the mite strip. Depending on the type used—Apivar or VarroxSan—it may be easier to remove it before you begin. The VarroxSan cardboard strips hang over the frame and usually stay in place during transport, but may need to be adjusted. The Apivar strips are suspended between two of the middle frames and can either be removed until the nuc is transferred, or you can move those two frames together at the same time.
Align frames
Gently push the frames together as you insert them. Use care and lightly press the frames together until you see or feel bees touching between the ends of the frames, then pull back slightly.
When you do this, any bees that feel the nudge will usually move if you give them a few seconds to get out from between the frame spacers—the end bar spacing that creates proper "bee space." After that, you can push the frames completely together without crushing bees.
This is something you will develop a feel for as you gain experience.
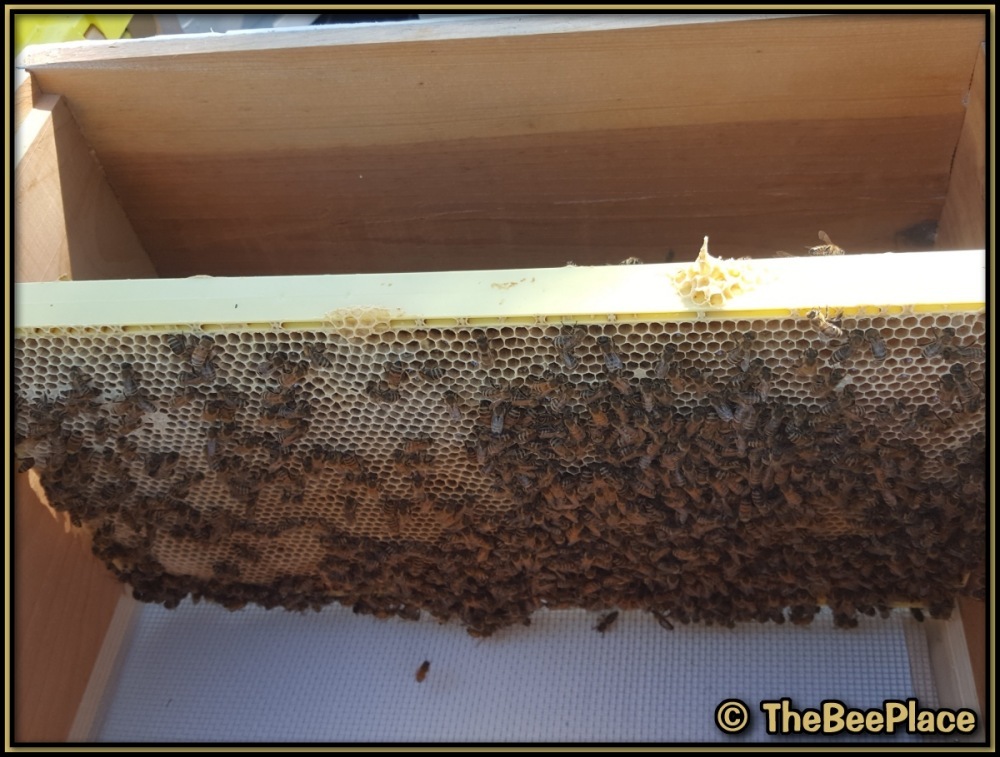
Add remaining bees
Once all the frames are installed, you are ready to add any remaining bees from the nuc box into the hive.
This can be easily done by gently shaking them into the hive. Any bees that remain in the nuc box will usually join the others within a few moments. A few puffs of smoke can encourage them to take flight. Once airborne, they will pick up the scent of the colony and find their way into their new home.
Note: It is not uncommon to find a small number of dead bees in the bottom of the nuc box after transporting (roughly a handful is normal). Bees only live a few weeks during the active season, and since there are several thousand bees in the box, some will naturally be near the end of their lifespan. Normally these older bees leave the hive before dying, but during transport they may simply remain in the box.
If more than a handful of dead bees are present, it is best to pour them out before shaking the remaining live bees into the hive.
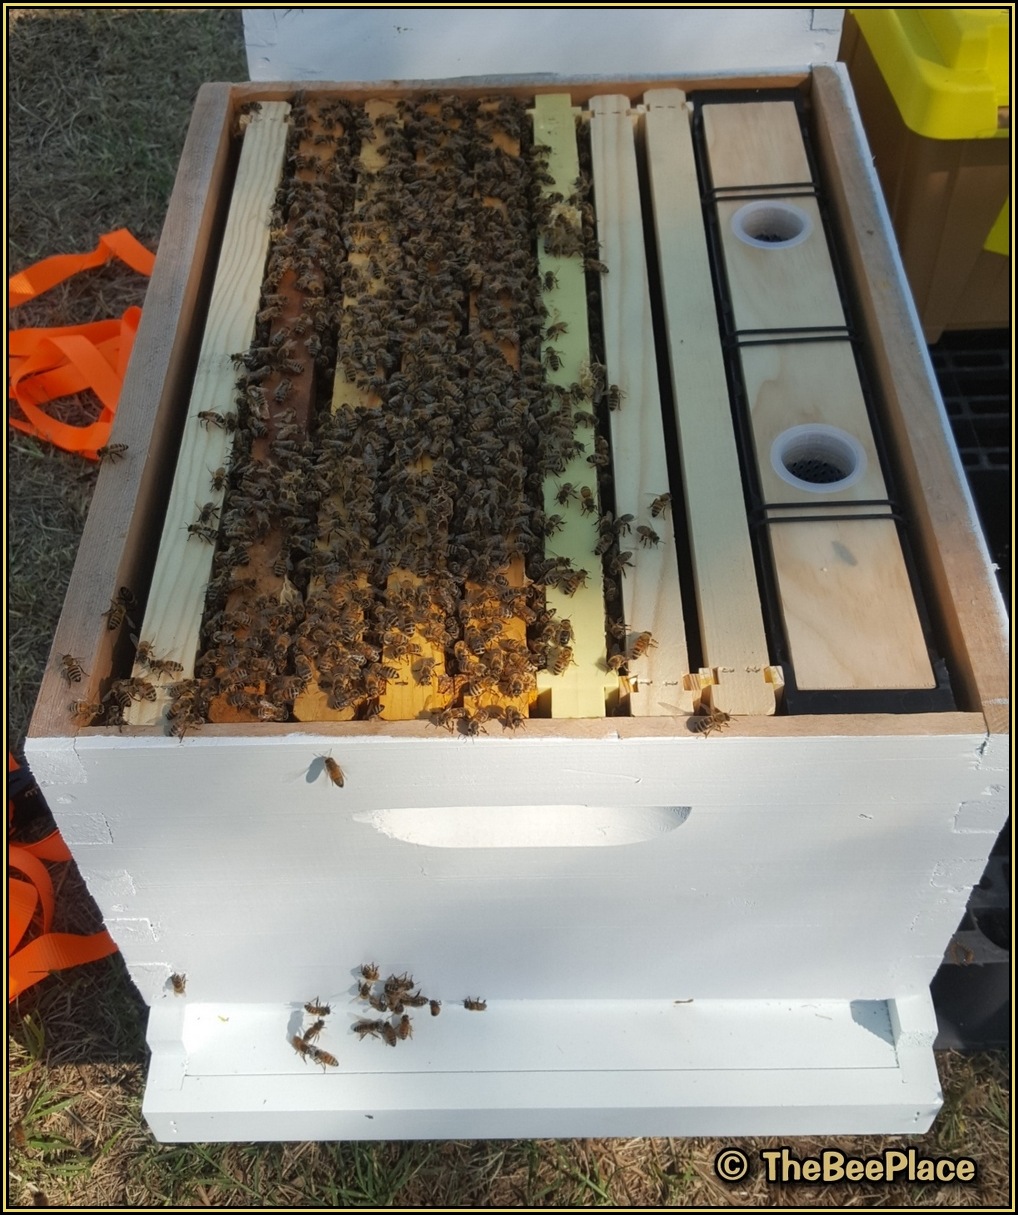
Install remaining equipment
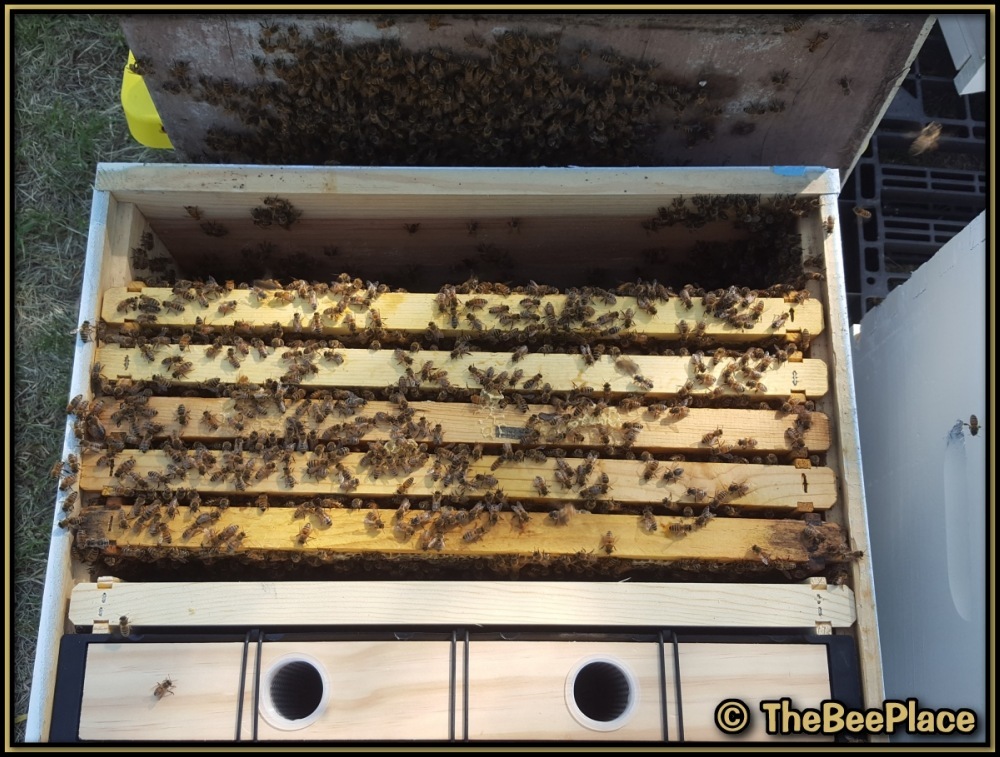
Add the remaining frames and the frame feeder to fill the empty spaces. This type of feeder is not mandatory, but some sort of feeder is recommended.
As you install the rest of the frames, it is best to keep the nuc frames centered in the box. We like to have one frame between the feeder and the bees, with two additional blank frames on the opposite side.
If you have drawn comb instead of blank frames, that is a great option but not necessary. As long as the bees have adequate resources, they will build out wax on blank frames.
Adjust spacing
Be sure to add enough frames to fill the entire hive body, or the bees may fill that open space with wax attached to the inner cover.
All frames should be pushed together snugly, leaving only a small gap along the frame side and the remaining space between the feeder and the inner wall of the box.
Feed and close
Fill the feeder with syrup (a 1:1 ratio of sugar and water), being careful to avoid spilling or overfilling it. This helps prevent attracting unwanted pests, such as ants, and provides the bees with a surplus of food while they acclimate to their new location.
Once the syrup is added, a couple of puffs of smoke across the top bars and around the edges of the box will herd the bees downward, allowing the inner cover to be placed without crushing bees.
It is not unusual for a few bees to move back into the path of the lid. Using either a gentle sliding motion to place the inner cover, or a very light bump-bump-bump to nudge any remaining bees out of the way, are techniques that develop naturally with a little experience.
Once the inner cover is in place, add the top cover and ensure the entrance is not obstructed so the bees can begin orienting to their new home.
